
You might see a vivid blue sky in real life, but then you go to take an image of your subject with the sky as a backdrop, but you just end up with a blown out white sky with no detail.
If the blue sky looks white in your photographs then this means that the sky is over-exposed in your image.
Your subject may look perfect, but the camera is trying to expose for the subject.
Since the sky is normally the brightest part of a scene during the day your subject may be much darker than the sky so the difference in brightness can be large.
The reason a camera can sometimes struggle to expose for both at the same time is due to dynamic range.
Here’s a quick summary of the list of ways you can avoid overexposing your skies in your pictures:
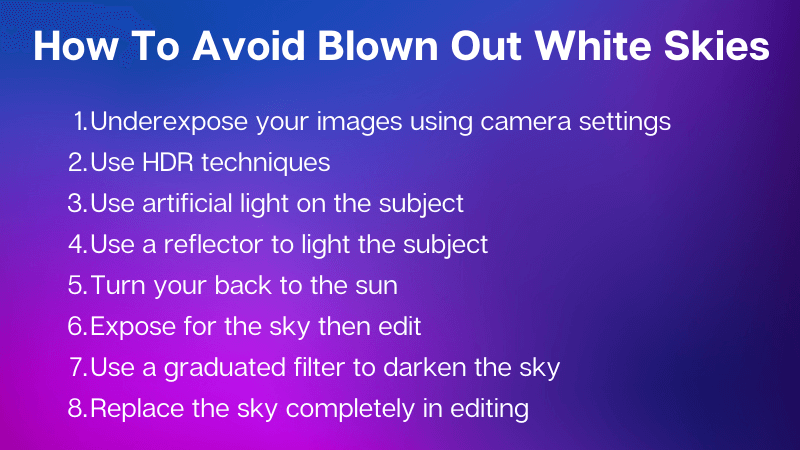
Table of Contents
Not Enough Dynamic Range
The dynamic range of a camera is just the range between the darkest and lightest part of an image that a camera can compute.
If the difference in luminance between the darkest and lightest parts of the image is too large, the camera will not be able to capture and compute all of the information.
So you either lose detail in the darkest shadows or the brightest highlights.
In the case of a white sky you are losing detail in the brightest highlights so the sky is white.
While different cameras have varying levels of dynamic range, there is always a limit to it so you need to know how to combat this.
How Do You Avoid White Skies?
There are a few ways to tackle this problem and some may suit you better than others depending on your gear or preferences:
1. Double-check Your Settings
The first and most obvious way is to double-check your settings. If your sky is overexposed the rest of your image may also be slightly overexposed.
Altering your settings just slightly to bring down the exposure may be enough to save the image.
Try to bring the exposure down by lowering ISO, using a faster shutter speed or using a smaller aperture (higher f-stop).
You can also try and use exposure compensation (EV) slightly and make the camera automatically under expose your images slightly.
If doing this doesn’t help try one of the next few methods.
2. HDR – High Dynamic Range Photos
Using HDR is one way to fix the problem.
You take multiple exposures of the same image and create a final image which is essentially a combined image of the multiple images.
For example, you may take 3 pictures where one is exposed for the highlights, one is for the midtones and one is for the shadows.
You then combine the 3 exposures to create a final perfectly exposed image.
You can do this automatically in some cameras. The HDR mode on your camera could be named by any of the following:
- Auto-Bracketing mode
- Auto-exposure mode
- Exposure-bracketing mode
We won’t go into detail in this post but you can check this video out to see it in action.
3. Use Artificial Light To Fill The Subject
Since the overexposure is due to the sky being so bright, you can expose for your sky and then brighten the subject artificially.
This can be any type of artificial light whether it is a flash or a continuous light which can illuminate the subject.
By having the subject illuminated, even though you are exposing for the bright sky you can still see the subject clearly and well lit.
This becomes more difficult if you have really large subjects, but for something like a portrait of a person or couple this can work well since you don’t need a large area to be lit up.
4. Reflector To Fill The Subject
This works similar to using artificial light by exposing for the sky and then brightening up your subject.
If you do not have the budget for artificial lighting, an alternative is to use a reflector instead.
Even if you do have the budget for artificial light sometimes a reflector can be better since you might only need a tiny bit of extra light for the perfect exposure.
If the subject has the sun behind them or above them just position your reflector to reflect light towards your subject to add more light.
You can pick up reflectors quite affordably and they are a staple in many photographers kits so it is worth getting your hands on one that works for the type of photography you shoot.
Remember the larger the subject the larger you will want your reflector.
5. Turn Your Back To The Sun
A quick remedy which can work is to change the direction of your lighting.
If you are shooting towards the sun, with the sun behind the subject then the subject is backlit.
So the subject will be in shadow and not well-lit. In this example the subject is between the camera and the sun.
Instead, if you are shooting with your back towards the sun the subject will be facing the sun and they will be lit by the sun instead of being in shadow.
This can make it easier to expose the sky and subject at the same time. In this example the camera is between the sun and the subject.
This won’t always work since the sun may be too bright to be lighting your subject directly and the light can end up being too harsh.
It will probably work better on an overcast or cloudy day compared to a day of harsh sunlight.
6. Expose For Your Sky And Rely on Post Processing
If you are shooting RAW then you might just get away with editing your pictures so that the image looks well exposed.
The key here is to make sure that you expose your sky (so everything else is slightly darker) and then brighten up the shadows in your editing software.
Generally it’s easier to bring back details in shadows than in blown out bright areas of an image, which is why you expose for the bright sky instead of the subject.
Remember to try to shoot in RAW instead of JPEG because this allows your camera to record as much data as it can, so you have more control in manipulating the image in an editing software of your choice.
You can try bringing the highlights down if your sky isn’t too overexposed and this can help to bring detail back into the sky.
7. Use A Graduated Filter To Darken Your Sky
Using a graduated filter attempts to directly change the exposure of your picture by working like a sunglass for part of your camera lens.
A neutral density filter is a filter which blocks a certain amount of light from entering the camera (acting like a sunglass), so it darkens your exposure regardless of the settings you use.
A graduated neutral density filter is one where the level of light varies across the filter – it has a gradient.
For example, you may have the neutral density stronger near the top so it blocks more light, but then it gradually becomes more clear towards the bottom where it isn’t blocking light from entering the lens.
This means that the sky is darkened by the graduated filter to make the image more evenly exposed since the sky tends to be the brightest part.
8. Replace The Sky Completely
If all else fails you can use editing software to do a sky replacement.
You’ll take an image of a different sky and overlay it into your image and try to make it match your picture well.
To get it right you’ll need to make sure the lighting and colours make sense to make it look realistic.
If you plan to replace the sky right from the beginning it’s best to expose your picture for the foreground and the subject since you will be replacing the sky anyways.
There’s a few ways you can do this, but you’ll need some sort of decent editing software like Adobe Photoshop.
Check out this video for a quick example.
We hope you found this useful! If you did, you might also like: